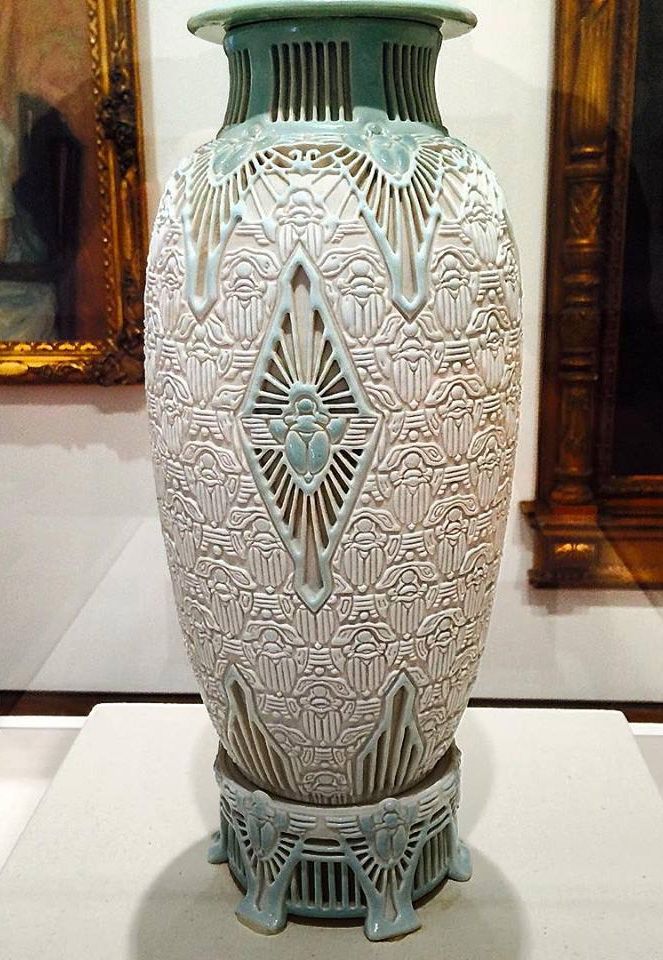
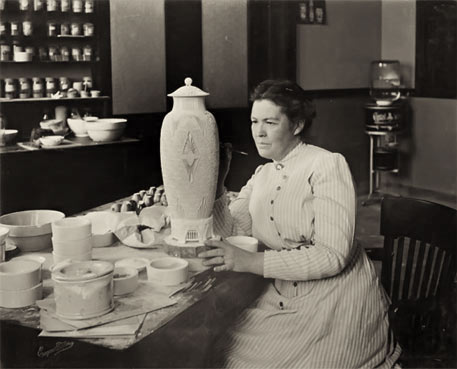
Another important thing to consider is if it is at all worth it to fix the crack. If it will take you longer to fix the piece than it would take you to make a new one, then it will be penny-wise-pound-foolish to fix it. It is also good to learn when a crack is really not worth the effort and when it may make a real difference. Some cracks are more worthy to fix than others. A piece that is strictly for decoration and will not get confused for a utilitarian piece, is a perfect piece to fix, both artificially and structurally; that is with or without ceramic materials. In fact, a crack that distract from the beauty, should be fixed. However, when the utilitarian strength of a piece, for instance the handle of a teapot, is weakened by the fixing process, it is not worth it to put your reputation as a ceramic artist on the line. All potters must at least fix one crack in their lifetime, or else they have not had the “full clay experience” - I say that tongue-in-the-cheek. However, there was one potter known, not only for fixing cracks, but she changed the whole perspective on American porcelain as she was recognized as the most important United States ceramic artist in the 20th century (Arts and Antiques magazine - March 2000).
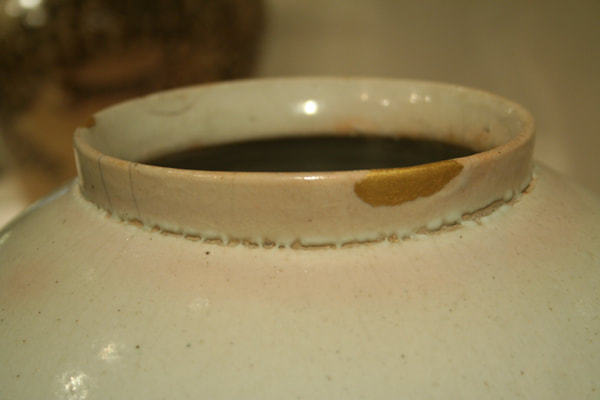
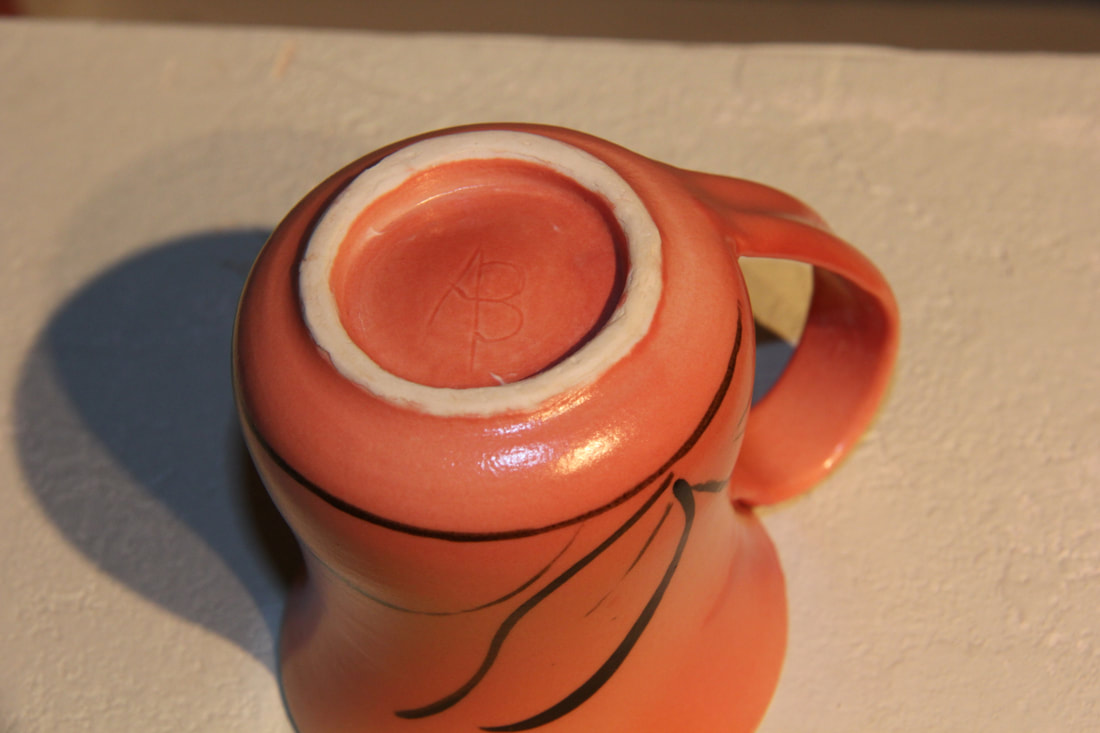
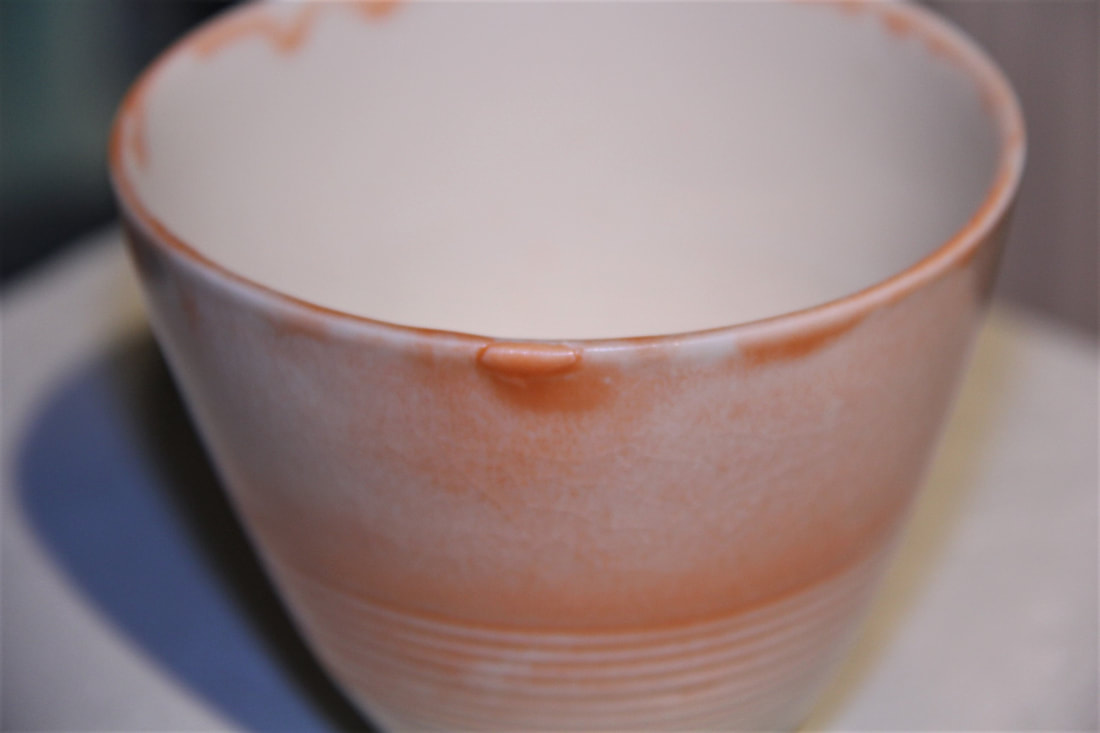
Adelaïde Alsop Robineau was born during the last remnants of the industrial revolution in the United States and growing up, she became a painting artist. But as it often went with artists during these times, she worked also as a china painter on ceramics to help support her family. One of very few women in the USA to study and practice pottery at the time, she worked primarily in porcelain, experimenting with American clay to create a true high-fire porcelain. It took her over 1,000 hours to make, but as it often happens with porcelain, there were small cracks when it came from the kiln. Taxile Doat, her teacher advised her to trash the piece, as it appeared to be irreparable. She did not give it up and spent hours grinding bisque to powder, mixing it with some powdered glaze, and filled the cracks. After re-glazing and re-firing, the piece was pulled from the kiln with no signs of cracks or reparation. How does Antoinette fixes cracks in her pots?Here is how I fix cracks: Mix up some paper clay from your clay body. Add a few drops of clear glaze and some finely grounded bisque from the same clay as the mug. Clean any dust away and add some clear glaze on the chip. As it dries, it may open up some cracks again, but keep filling it with more paper clay. Remember paper clay must still shrink to catch up with the rest of the body, so it needs enough filler that will not shrink that much. When you put it back in the kiln, put some silica on the shelf under the piece to prevent possible sticking. If it is a foot rim, you may have to sand it when it comes out. Links: Porcelain by Antoinette E-courses (online workshops) at TeachinArt Preview our e-courses Demonstrations and tips Tags:
#potterytips #faultsandremedies #fixingfaults #teachinart #ceramicschool #paperclay #paperporcelain
13 Comments
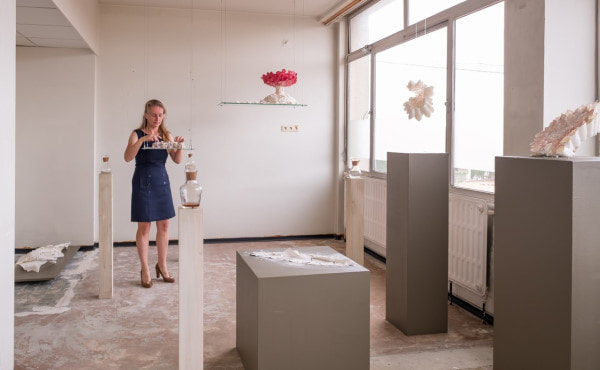
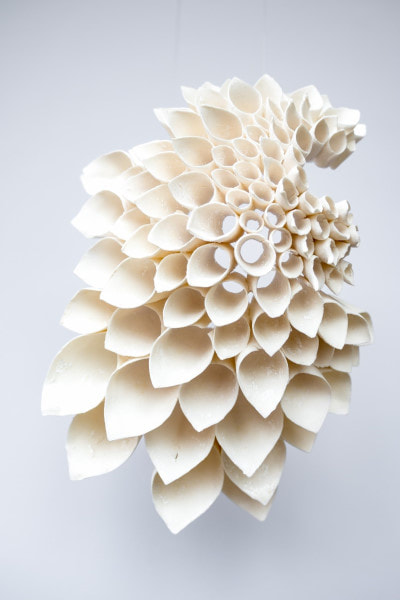
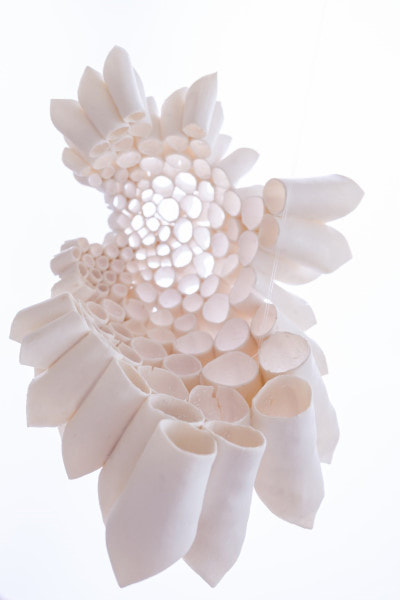
My educational background lies in engineering, science and research. At the free university of Brussels, I first obtained the degree of Bio-engineer in cell and gene biotechnology. That was followed by a PhD in applied biological sciences during which I focused on sourdough fermentation. Thereafter, I started a career in the pharmaceutical industry, mainly as project manager. During that time, I continued taking several classes that brought me closer to my inner selve and passions. It is no more than 10 years ago that I first experienced working with clay. The joy of creating, the feeling of clay on my hands and the peace of mind all this brought were truly overwhelming. About 5 years ago I decided to enroll in the ceramics program at the Genk academy of visual arts and media. Till today, the ceramics classes have continued to equipped me with skills and knowledge relating to the materials and processes of the discipline. Very soon it became clear that porcelain would become the ideal medium for my work. Once a researcher, always a researcher, so I dedicate a lot of time to sample making and the testing of new techniques. For the making of my works, I rely on a mix of techniques: handbuilding, slip casting, dipping and the use of paper molds or other “carriers” to make individual elements which then are assembled into a – partly- intuitive final pattern.
I rarely add color or glazes to my work because I love the whiteness, pureness and translucency of porcelain. I believe that in some cases the combination of shape and a delicate play of texture, results in enough complexity. In case I do decide to add color, I always keep a certain degree of sobriety in mind not mixing too many color palettes or by using coloring agents that enable me to obtain a subtle natural look and feel. Mostly I rely on the use of either pigments or oxides for the coloring of porcelain clay bodies. When I want to add subtle color to bisque-fired pieces (or even green ware), I prefer the use of water-soluble metal salts. All works are fired at cone 6 under oxidizing conditions. As a newcomer in the arena of ceramic artists, I want to thank Antoinette and Koos Badenhorst for providing me this platform and for sharing so much valuable information through their e-courses and TeachinArt portal. Links:
E-courses (online courses) at TeachinArt Preview e-courses Demonstrations, tips and techniques Our art instructors Colored clay e-course with Curt Benzle
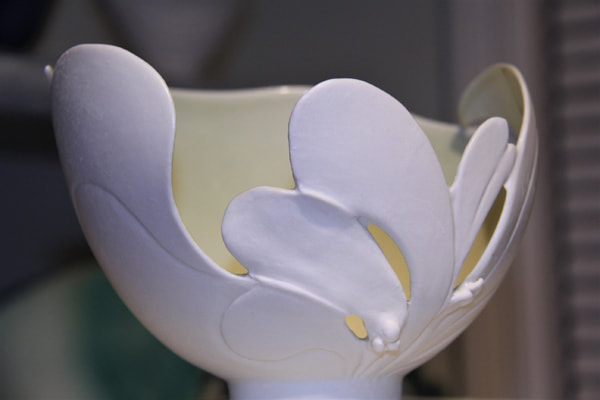
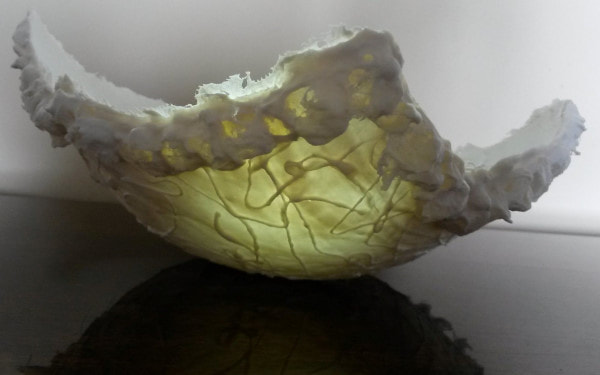
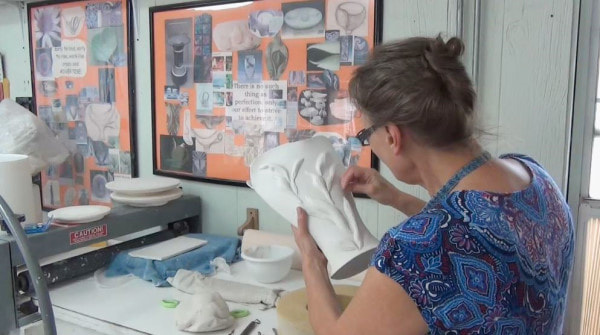
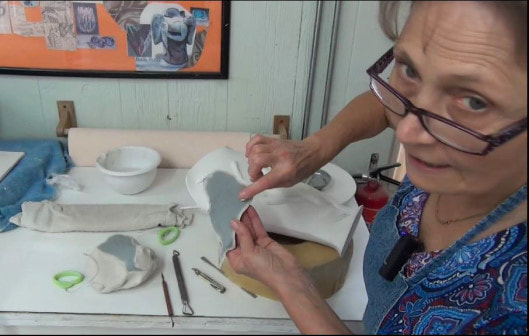
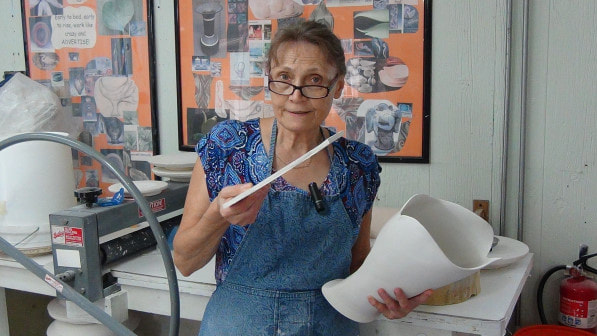
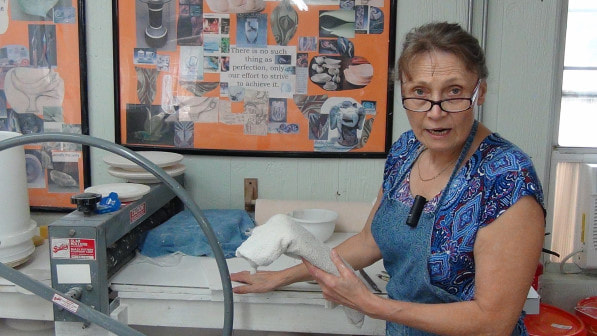
Paper clay is many times used by ceramic artists to make the construction of sculptures easier. Antoinette Badenhorst demonstrates how she uses paper clay to create translucent porcelain vessels. Paper clay burns out in the pottery kiln and does not really affects the final outcome of the sculpture. It helps with the forming and sculpturing.
Links:
Understanding porcelain e-course with Antoinette Badenhorst Porcelain handbuilding e-course with Antoinette Badenhorst E-courses (online workshops) at TeachinArt Demonstrations, tips and techniques (Tips shared by teachers of TeachinArt) Preview e-courses (take a quick peek into our online workshops) Art Instructors (Meet our online art instructors)
Tags:
#paperclay #paperporcelain #translucentporcelain #recycleclay |
AuthorTeachinArt is an online art school with professional artists as instructors who educate, enridge and promote art. Categories
All
|

 RSS Feed