TeachinArt.com
  • Home
  • Online workshops
    • Understanding Porcelain
    • Handbuilding classes >
      • Porcelain handbuilding
      • Colored clay
      • Handbuilding Pottery For Beginners
    • Wheel thrown classes >
      • Porcelain Tips for Wheel Pottery
      • Take throwing to the next level
    • Teapot classes >
      • Pinching Teapots for Beginners
      • Faceted Teapot set
      • Wheel thrown teapots
    • Dinnerware classes >
      • Wheel thrown porcelain dinnerware
      • Handbuilding porcelain dinnerware
    • Glazing & Firing >
      • Shino glazing
      • Glazing made easy
      • Alternative firing
      • Glazing with Ron Roy
    • Painting on clay >
      • China painting
      • Post-fired finishes
    • All Artists Making A Living (AAMAL) >
      • Success stories
    • Woodworking classes >
      • Introduction to segmenting
    • Preview E-courses
  • Instructors
    • Antoinette Badenhorst
    • David Voorhees
    • Marcia Selsor
    • Connie Christensen
    • Nan Rothwell
    • Lynn Barnwell
    • Marie EvB Gibbons
    • Paul Lewing
    • Curtis Benzle
    • Robert Rundquist
    • Ron Roy
  • Registered students
  • Contact us
    • About us
  • Tips / demos
  • Students work
  • Blog

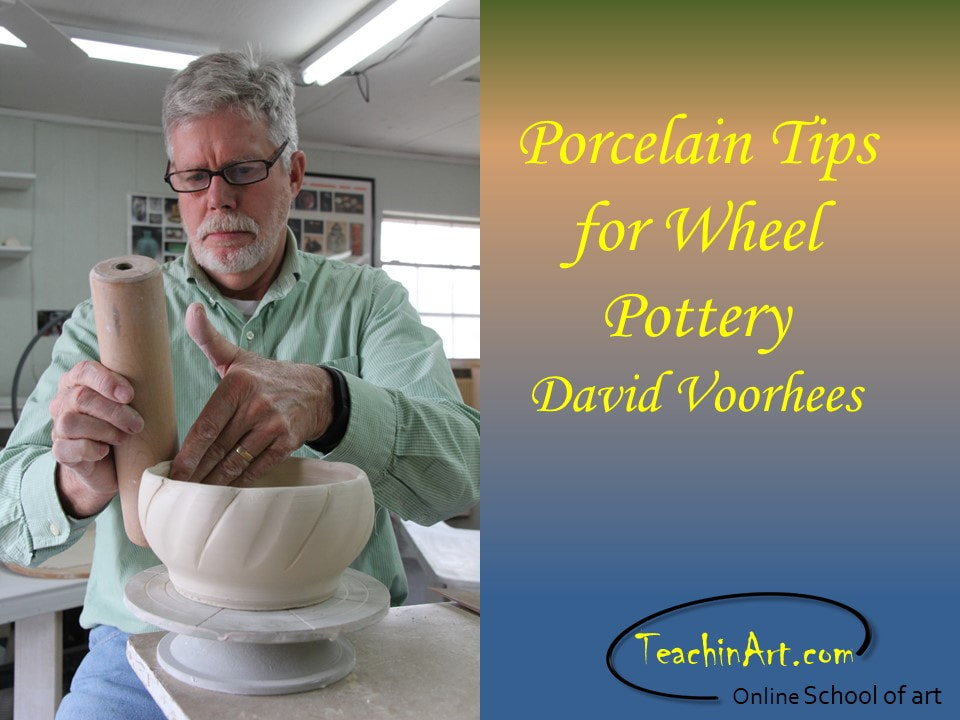
Porcelain tips for wheel pottery with David Voorhees

Wheel throwing with porcelain is not that difficult if you know how to control the clay. In this wheel throwing online class, David shows his 40+ years skills in clay and encourage a deeper understanding of working with porcelain. Potters who are interested in improving their general understanding of working with porcelain on a pottery wheel and those interested in working in porcelain for the first time will benefit from this class.
It is a wheel throwing, altering, and trimming class working with porcelain from wet to bone dry. We review basic to advanced techniques and go in depth into some of the challenges of working with porcelain.

Instruction will focus on working with porcelain up to, but not including glaze firing. This is a six weeks porcelain throwing online workshop with ten weeks of viewing the videos.

Picture
David shows an urn that he made during the class.
Porcelain tips for wheel pottery
$189
6 weeks formal online class
plus 4 weeks reviewing
​
Open for registration anytime.
Register for e-course
Picture
David demonstrates how he uses wooden tools for shaping.

Preview online workshop

Contents of porcelain tips for wheel pottery

Week 1
Preparing to throw porcelain on the wheel
  • Clay preparation
    • Wake up the clay and control stiffness
  • Wedging
    • Wedging table height
    • Spiral wedging technique – hands and body
    • Controlling clay consistency
    • Keep the clay covered
  • Wheel preparation
    • Wheel height for wheel throwing
    • Stool selection
    • Sitting position
    • Using bats on the wheel
    • Tools for the forming process

​Centering clay on the pottery wheel 
  • Getting clay on wheel
  • Hands, arms and body positions
  • Using a wooden paddle
  • Excessive clay on the wheel
  • Opening-up process
  • Preparing clay for first pull
Throwing a porcelain plate; different stages and steps of throwing
  • Hand registration
  • Throwing a porcelain plate on the wheel
  • Becoming proficient

​Throwing a porcelain bowl and cylinder on the wheel
  • Hand positions
  • Pressure and control considerations
  • Water/slip use and control
  • Registration suggestions
  • Wheel speed
  • Forming of the walls
  • Shaping and forming
  • 2-point spreading hand pry technique
  • 1-point spreading technique
  • base thickness choices
  • Using the forming  tools
  • Throwing a porcelain bowl
  • Throwing a porcelain cylinder
  • Necking hand position
Week 2
​Throwing a pitcher and a larger bowl on the wheel
​Other challenges
  • Throwing a lidded bowl on the wheel while using calipers for accurate measuring
  • How to shape and form the flange of the lid for a tight fit into the bowl
  • Tools to use for forming the lid
  • Throwing a bottomless oval shaped pot
  • Throwing an urn with a cap lid

Week 3
​Trimming basics
  • Understanding and controlling drying
  • Trimming goals and tools
  • Centering means – wads – Giffen Grips, foam bats
  • Tapping on center 
  • Trimming simplified
  • Trimming a plate
  • Trimming a bowl
  • Flex rib shaving
  • Accessing our complex forms
Week 4
​Soft to medium leather hard altering 
  • Pitcher squared and paddled
  • Pitcher handle pulling and applying
  • Add and trim bottom slab of the oval vase
  • Oval vase trimming
    •  Slab bottom, lugs, piercing and surform trimming
​Advanced projects
  • Carving the large bowl
  • Throw the handles of the casserole on the wheel
  • Trim and fit the casserole lid and thrown knob
  • Urn pattering and lid fitting
Week 5
Working with the drying clay 
  • Bowl – fluting with sticks and rolling pin
  • Tools choices for the fluting process
  • Timing for trimming and altering
  • Bas relief carving
Trimming cylinders and sgraffito 
  • Trimming cylinders
  • Foam pad helpers
  • Sgraffito decorating
  • Bottom of pots - choices
Week 6
Final touches on Urn and fluted bowl
  • Stick patterning on the Urn
  • Cap lid trimming to fit
  • Using chucks
  • Hacksaw fluted bowl
Finishing up
  • Final drying
  • Cleaning bisque ware
  • Feet and lids – use of alumina hydrate in wax resist
  • Closing comments

Registration policy

Who is the target audience for Porcelain Tips for Wheel Pottery?
  • The "Porcelain Tips for Wheel Pottery" e-course is geared towards potters that have experience in basic to advanced clay work. Potters who are interested in improving their general understanding of porcelain working on a pottery wheel and those interested in working in porcelain for the first time will benefit from this class. It is a wheel throwing, altering, and trimming class working with porcelain from wet to bone dry. We review basic to advanced techniques and go in depth into some of the challenges of working with porcelain.  This class will help to advance general skills in clay and encourage a deeper understanding of working with porcelain. Instruction will focus on working with porcelain up to, but not including glaze firing.
  • This is an intermediate level class, so if you are very new to pottery try some of the basic classes offered first.
  • Our videos do not have written translations yet and the language used is English.
What do I need to do this e-course?
  • You must have access to a pottery wheel and have some basic wheel and clay working tools.  You should also have available a number of throwing bats for your pieces.
  • You will need approximately 50 pounds of a high quality plastic porcelain clay body.
  • You should have some available daily time to make the best use of this course. You will be monitoring your porcelain pots as they dry and this is best done often.
  • You must have consistent access to a computer, iPad or iPhone or related technology.
  • You must have basic computer knowledge. (Although we will assist you with the viewing of the videos, we cannot teach you how to use a computer).
This e-course will help you:
  • if you have worked on the wheel before, but have never tried porcelain clay
  • if you have experienced difficulty with throwing porcelain clay
  • if you want to understand and learn more about porcelain clay
  • if you want to improve your wheel forming skills
  • if you want to learn how to control forms on the wheel
  • if you want to expand your range of sizes
  • if you want to learn how to use ribs
  • if you want to learn a variety of altering techniques
  • if you want to learn to use trimming techniques to make better pots
What can I expect from the e-course?
  • You will learn how to throw, control and alter some basic forms on the potter's wheel. 
  • You will learn and understand porcelain well enough to use this clay body effectively to make better pottery  
  • When you completed this class, you should be able to throw porcelain with more ease and to improve your skills with continued practice.
  • You will need certain pottery tools. We will provide a material and tool list.
  • We provide downloadable documents (PDF format) for refreshing memory
  • You will have weekly access to the instructor for personal feedback and suggestions
REFUND POLICY​​
  • No refunding.
  • Submitting an online registration indicates your agreement with this policy.

Links to other pages

Home
Online workshops
Our Instructors
Registered Students
About Us
Contact Us
Tips & Demos
Behind the scenes
Student's work
FAQ
Reviews

Workshops by categories

Wheel thrown classes
Handbuilding classes
Teapot classes
Porcelain dinnerware classes
Glazing & decorating classes
Woodworking
©2020 TeachinArt
All rights reserved

Webmaster: Koos Badenhorst

  • Home
  • Online workshops
    • Understanding Porcelain
    • Handbuilding classes >
      • Porcelain handbuilding
      • Colored clay
      • Handbuilding Pottery For Beginners
    • Wheel thrown classes >
      • Porcelain Tips for Wheel Pottery
      • Take throwing to the next level
    • Teapot classes >
      • Pinching Teapots for Beginners
      • Faceted Teapot set
      • Wheel thrown teapots
    • Dinnerware classes >
      • Wheel thrown porcelain dinnerware
      • Handbuilding porcelain dinnerware
    • Glazing & Firing >
      • Shino glazing
      • Glazing made easy
      • Alternative firing
      • Glazing with Ron Roy
    • Painting on clay >
      • China painting
      • Post-fired finishes
    • All Artists Making A Living (AAMAL) >
      • Success stories
    • Woodworking classes >
      • Introduction to segmenting
    • Preview E-courses
  • Instructors
    • Antoinette Badenhorst
    • David Voorhees
    • Marcia Selsor
    • Connie Christensen
    • Nan Rothwell
    • Lynn Barnwell
    • Marie EvB Gibbons
    • Paul Lewing
    • Curtis Benzle
    • Robert Rundquist
    • Ron Roy
  • Registered students
  • Contact us
    • About us
  • Tips / demos
  • Students work
  • Blog