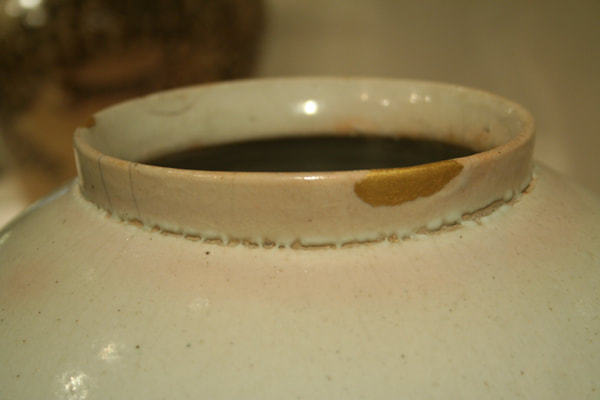
Another important thing to consider is if it is at all worth it to fix the crack. If it will take you longer to fix the piece than it would take you to make a new one, then it will be penny-wise-pound-foolish to fix it. It is also good to learn when a crack is really not worth the effort and when it may make a real difference. Some cracks are more worthy to fix than others. A piece that is strictly for decoration and will not get confused for a utilitarian piece, is a perfect piece to fix, both artificially and structurally; that is with or without ceramic materials. In fact, a crack that distract from the beauty, should be fixed. However, when the utilitarian strength of a piece, for instance the handle of a teapot, is weakened by the fixing process, it is not worth it to put your reputation as a ceramic artist on the line. All potters must at least fix one crack in their lifetime, or else they have not had the “full clay experience” - I say that tongue-in-the-cheek. However, there was one potter known, not only for fixing cracks, but she changed the whole perspective on American porcelain as she was recognized as the most important United States ceramic artist in the 20th century (Arts and Antiques magazine - March 2000).
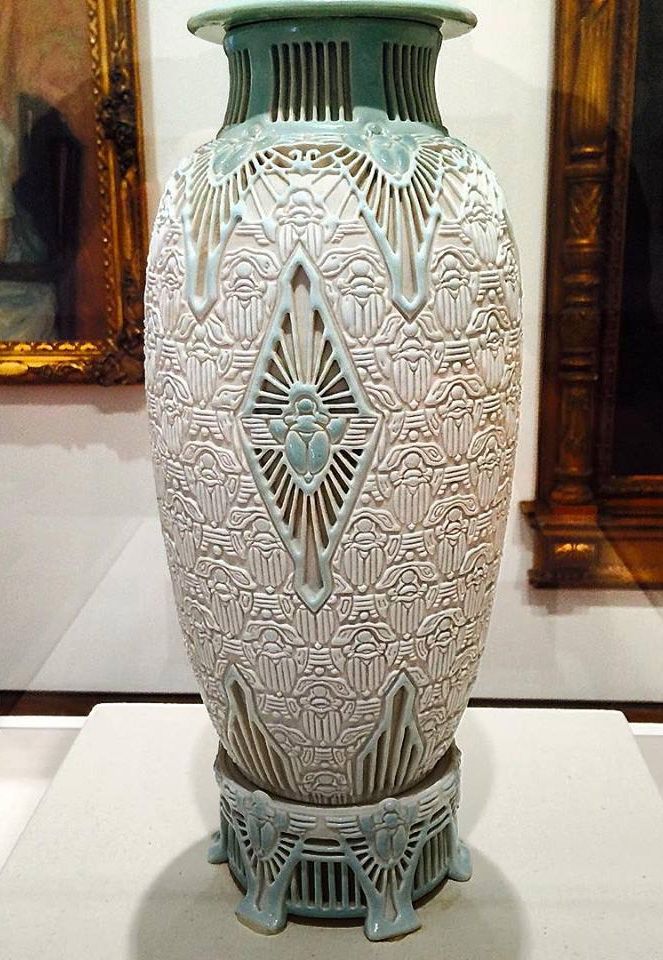
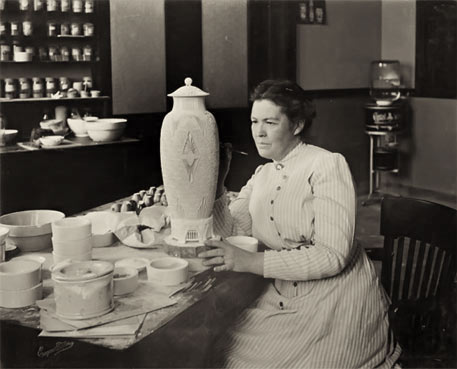
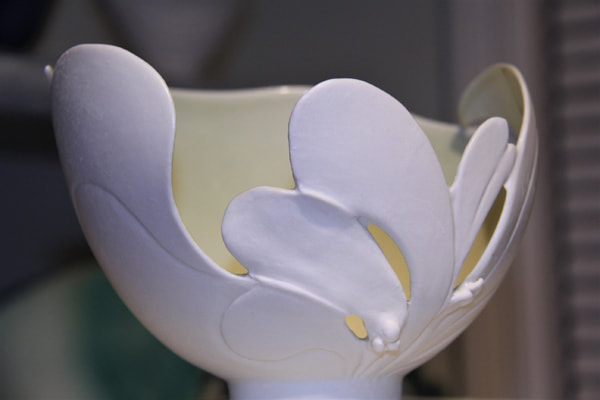
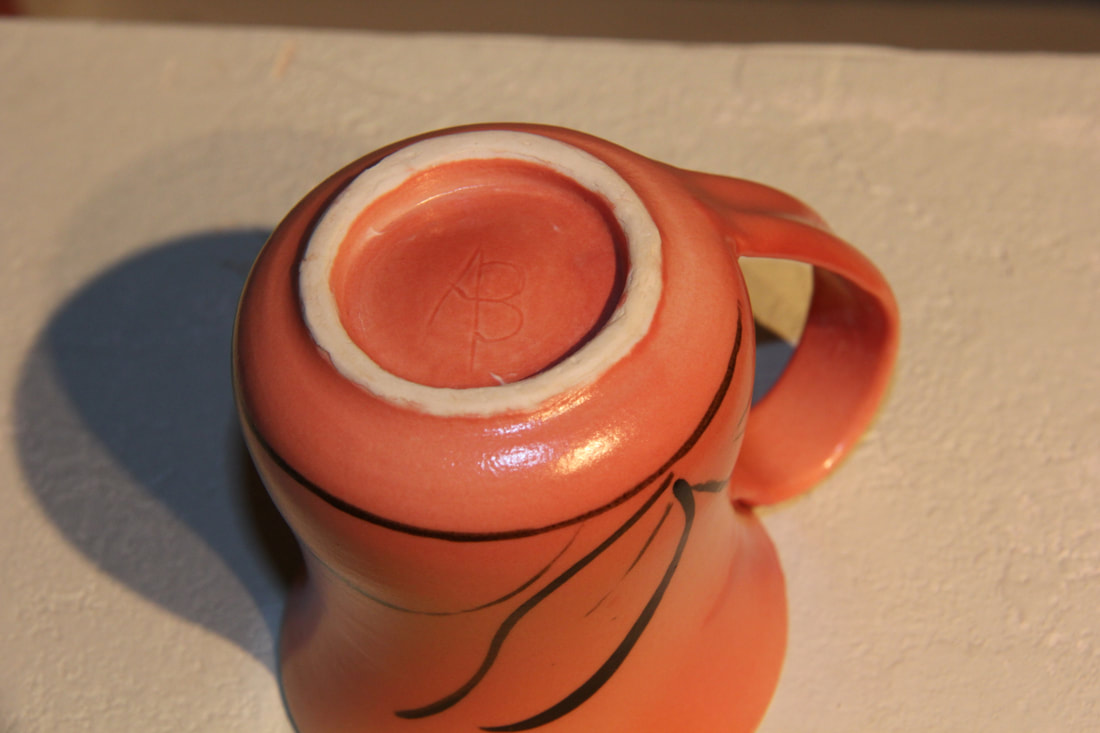
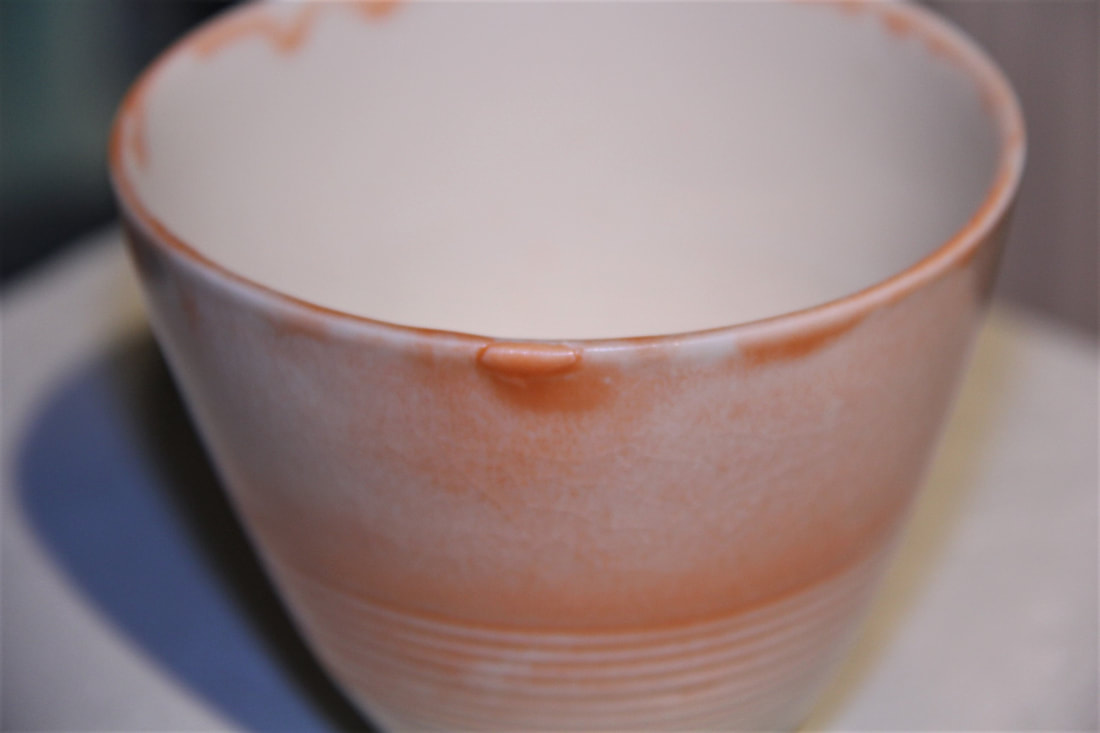
Adelaïde Alsop Robineau was born during the last remnants of the industrial revolution in the United States and growing up, she became a painting artist. But as it often went with artists during these times, she worked also as a china painter on ceramics to help support her family. One of very few women in the USA to study and practice pottery at the time, she worked primarily in porcelain, experimenting with American clay to create a true high-fire porcelain. It took her over 1,000 hours to make, but as it often happens with porcelain, there were small cracks when it came from the kiln. Taxile Doat, her teacher advised her to trash the piece, as it appeared to be irreparable. She did not give it up and spent hours grinding bisque to powder, mixing it with some powdered glaze, and filled the cracks. After re-glazing and re-firing, the piece was pulled from the kiln with no signs of cracks or reparation. How does Antoinette fixes cracks in her pots?Here is how I fix cracks: Mix up some paper clay from your clay body. Add a few drops of clear glaze and some finely grounded bisque from the same clay as the mug. Clean any dust away and add some clear glaze on the chip. As it dries, it may open up some cracks again, but keep filling it with more paper clay. Remember paper clay must still shrink to catch up with the rest of the body, so it needs enough filler that will not shrink that much. When you put it back in the kiln, put some silica on the shelf under the piece to prevent possible sticking. If it is a foot rim, you may have to sand it when it comes out. Links: Porcelain by Antoinette E-courses (online workshops) at TeachinArt Preview our e-courses Demonstrations and tips Tags:
#potterytips #faultsandremedies #fixingfaults #teachinart #ceramicschool #paperclay #paperporcelain
13 Comments
David Voorhees is a professional potter from North Carolina who works with porcelain. He presents an online workshop (Porcelain tips for wheel pottery) at TeachinArt online school of art and demonstrates in the e-course how to do spiral wedging. This video clip is a short preview of the six weeks online class with David.
What is wedging? It is a clay term for kneading and is used to remove air bubbles or air pockets from the clay. Any air trapped in the clay, makes the centering of the clay on a potters wheel so much more difficult and if an air pocket is trapped inside clay and you fire it in the kiln, it can explode. Wedging helps to spread moisture evenly throughout the clay which helps with easier centering on the wheel. Even if you do not use a potter's wheel and only work with hand building, then wedging is just as important. Many potters have experienced the shock when they opened the electric kiln and see that one of their pots (with air trapped air inside) exploded and messed up all the surrounding pots. The spiral wedging technique is handy when you have to wedge or knead large clay batches. It is also called the Japanese wedging or kneading. Some potters only use the spiral method. We will post later other wedging techniques.
Links
Online art workshops (e-courses) Demonstrations, tips & techniques Art instructors Preview e-courses
Tags:
#wedgingclay #spiralwedging #teachinart #teachingartist #ceramicschool #potteryschool #kneadingclay
Centering of clay on the wheel is one of the most crucial parts of wheel throwing. This is the time to get the clay particles in the right place and to build on to the wedged clay process. If the clay is not centered correctly, then the pulling-up of the walls becomes a nightmare.
There are some potters who do not know that you can set the wheel to spin clockwise or anti-clockwise. Right handed potters should let the wheel spin anti-clockwise and left-handed throwers should switch the direction of the wheel head to a clockwise motion. Throwing on the wheel is easier if you use technique instead of force. It is easier to get your arm locked on your upper leg and let you leg do the pushing and steadying instead of just your arms. This is a video clip from the Understanding Porcelain e-course by Antoinette Badenhorst. TeachinArt brings ceramic workshops into the studio of potters around the world, and is the bridge between college students and hobby potters.
Other interesting links on our online school website:
Tags:
#centeringclay #wheelthrowing #potterytips #teachinart #wheelpottery #clayshares #ceramicschool #virtualclass
Nan RothwellNan Rothwell is a professional, functional potter from North Carolina who have 40+ years ceramics experience. She is the online instructor for the take your wheel throwing to the next level e-course at TeachinArt. She shares tips and techniques in her online class with potters and shows them how to move into advanced throwing with ease.
When you attach a handle to a mug, teapot, jug or any other clay wall, cracking of the handle is one of the big problems. When you add wet clay to a dry pot, the chances are very good for cracking at the handle. There are several reasons why handles crack loose from a mug, but this tip from Nan Rothwell may help you prevent some of your cracking reasons in the future.
Other links:
Learn pottery online (E-courses) See our other demonstrations, tips & techniques Preview e-courses
Tags:
#pottery tips #claymugs #ceramicschool #clayshares #teachinArt #makingmugs #teachingpottery |
AuthorTeachinArt is an online art school with professional artists as instructors who educate, enridge and promote art. Categories
All
|
 RSS Feed